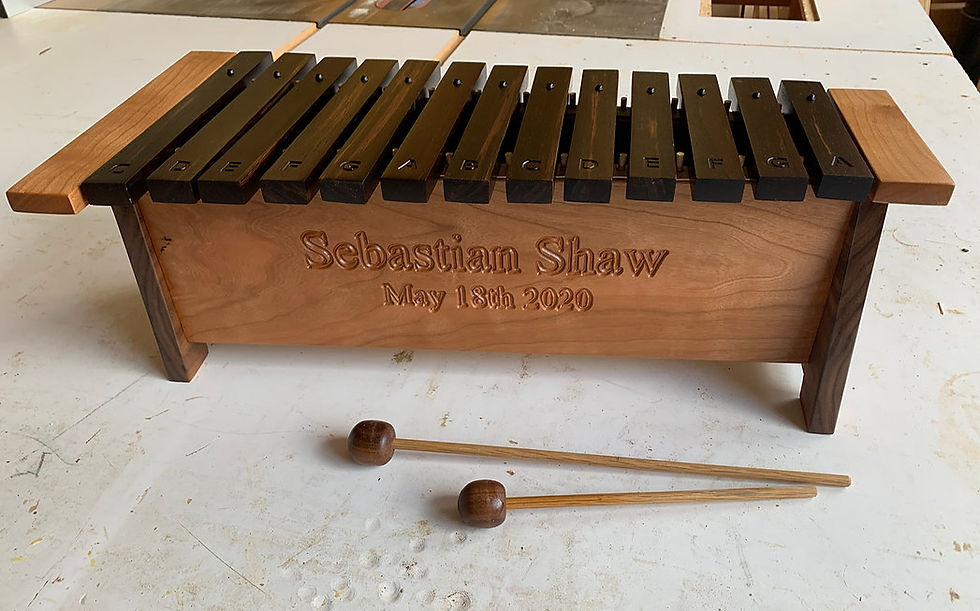
How to Make a DIY Wooden Xylophone
- Jim April
- 2 days ago
- 3 min read
(Inspired by a Vintage Design Blueprint)
There’s something magical about the sound of a wooden xylophone—warm, earthy, and nostalgic. If you’ve ever wanted to make your own from scratch, you’re in the right place. In this guide, we’ll walk through the basics of building a DIY xylophone using timeless methods—but more importantly, we’ll show you why having a Vintage Xylophone Design Blueprint can make all the difference.
This isn’t just a weekend craft. It’s a chance to create a beautiful, functional instrument using design principles passed down through generations.

Why Vintage?
Today’s factory-made xylophones can’t hold a candle to handcrafted instruments of the past. Vintage xylophones were built with intention—every curve, every angle, every material chosen for acoustic excellence.
That’s exactly why we modeled our process after a Vintage Xylophone Design Blueprint—a detailed plan originally used by mid-century craftspeople to create concert-quality instruments.
You can try to guess your way through building a xylophone, or you can follow a proven design that guarantees it sounds just as good as it looks.
What You’ll Need to Get Started
Even before you start building, having the right layout is key. Here’s a preview of the basics:
Hardwood bars (like rosewood, maple, or padauk)
Tuner app or chromatic tuner
Rubber spacers for resonance
Wooden frame and support base
Mallets
…and a proper layout for note spacing and bar dimensions
Pro Tip: The bar spacing and length-to-pitch ratio is where most DIY builds go wrong. That’s where the blueprint shines—it provides exact measurements and acoustic guidance used in real vintage builds.

Build Steps (Simplified Overview)
Here’s the general flow:
1. Cut and Shape the Bars
Use hardwood and cut each bar according to note pitch. Without proper plans, this is guesswork—but the blueprint includes a tested length-per-note table based on real instrument acoustics.
2. Tune Each Bar by Hand
Sand the underside slightly in the center to lower the pitch. Shorten the bar to raise it. A blueprint tells you how much and where to sand.
3. Build the Frame
The classic design uses a sloped, minimalist frame that both supports the sound and highlights the beauty of the instrument. Don’t wing it—use dimensions that have been acoustically validated.
4. Final Assembly and Tuning
Use rubber spacers at the nodal points and secure each bar without damping the vibration. Follow the layout guide in the blueprint to space each bar precisely.
What Makes the Vintage Xylophone Design Blueprint So Valuable?
The Vintage Xylophone Design Blueprint isn’t just a sketch—it’s a complete, field-tested plan. It includes:
✔️ Exact bar lengths for C4–C5 scale
✔️ Spacing guides for bar placement
✔️ Support frame dimensions
✔️ Rubber damper positions
✔️ Wood types and finish recommendations
✔️ Visual diagrams and drilling locations
Whether you’re building this for fun, for a child’s music room, or as a gift, this blueprint helps you avoid mistakes and create something that lasts.
Why It’s Worth It
Let’s face it—trial and error with tuning bars can eat up hours. Building without a plan can leave you with a beautiful but untuned instrument. But with the Vintage Xylophone Design Blueprint, you skip the frustration and go straight to results.
This is more than a PDF—it’s a shortcut to craftsmanship.
Ready to Build?
If you're serious about making a wooden xylophone that sounds as amazing as it looks, don’t just guess your way through it.
Create something you’ll be proud of. Something that lasts. Something that sounds just right.


Comments